Motorcycle Trailer Rentals: Complete Guide to Hauling [And Saving]
 Evan Rally
left for contents
I’ll get straight to it, since you know what you’re wondering: what’s the best trailer for my bike, my trip, and my budget?
That’s what this guide is for. Whether you’re hauling a Harley cross-country, moving a dirt bike to the trails, or taking a track bike to race day, this will help you choose the right rental without wasting time or money. Broken down step by step.

Source
Not Sure What Size to Order? Get Our Gear Fit Guide.
Sizing charts for helmets, jackets, gloves & boots — with brand-specific fit notes and pro tips so your gear fits right the first time.
- Helmet sizing by brand
- Jacket, glove & boot charts
- Head shape guide
- Between-sizes tips
Steps to a Great Haul
Step 1: What are you hauling?
Before you even look at rental listings, nail down:
- Bike type and weight – A 250cc dirt bike (~250 lbs) is a whole different ball game from a 900-lb fully dressed touring bike.
- Bike length and width – Especially handlebar width and luggage racks. Some trailers can’t take extra-wide bikes without modifications.
- Number of bikes – Single, double, or multi-bike? Multi-bike trailers cost more but split costs between riders.
Pro Tip: Know your bike’s curb weight from the manufacturer’s spec sheet. Many riders underestimate, and an overloaded trailer is a recipe for trouble – and sometimes rental refusal.
Step 2: Match Trailer Type to Your Trip
Different trailers exist for different needs. Get this wrong and you’ll either overpay or struggle with loading and safety.
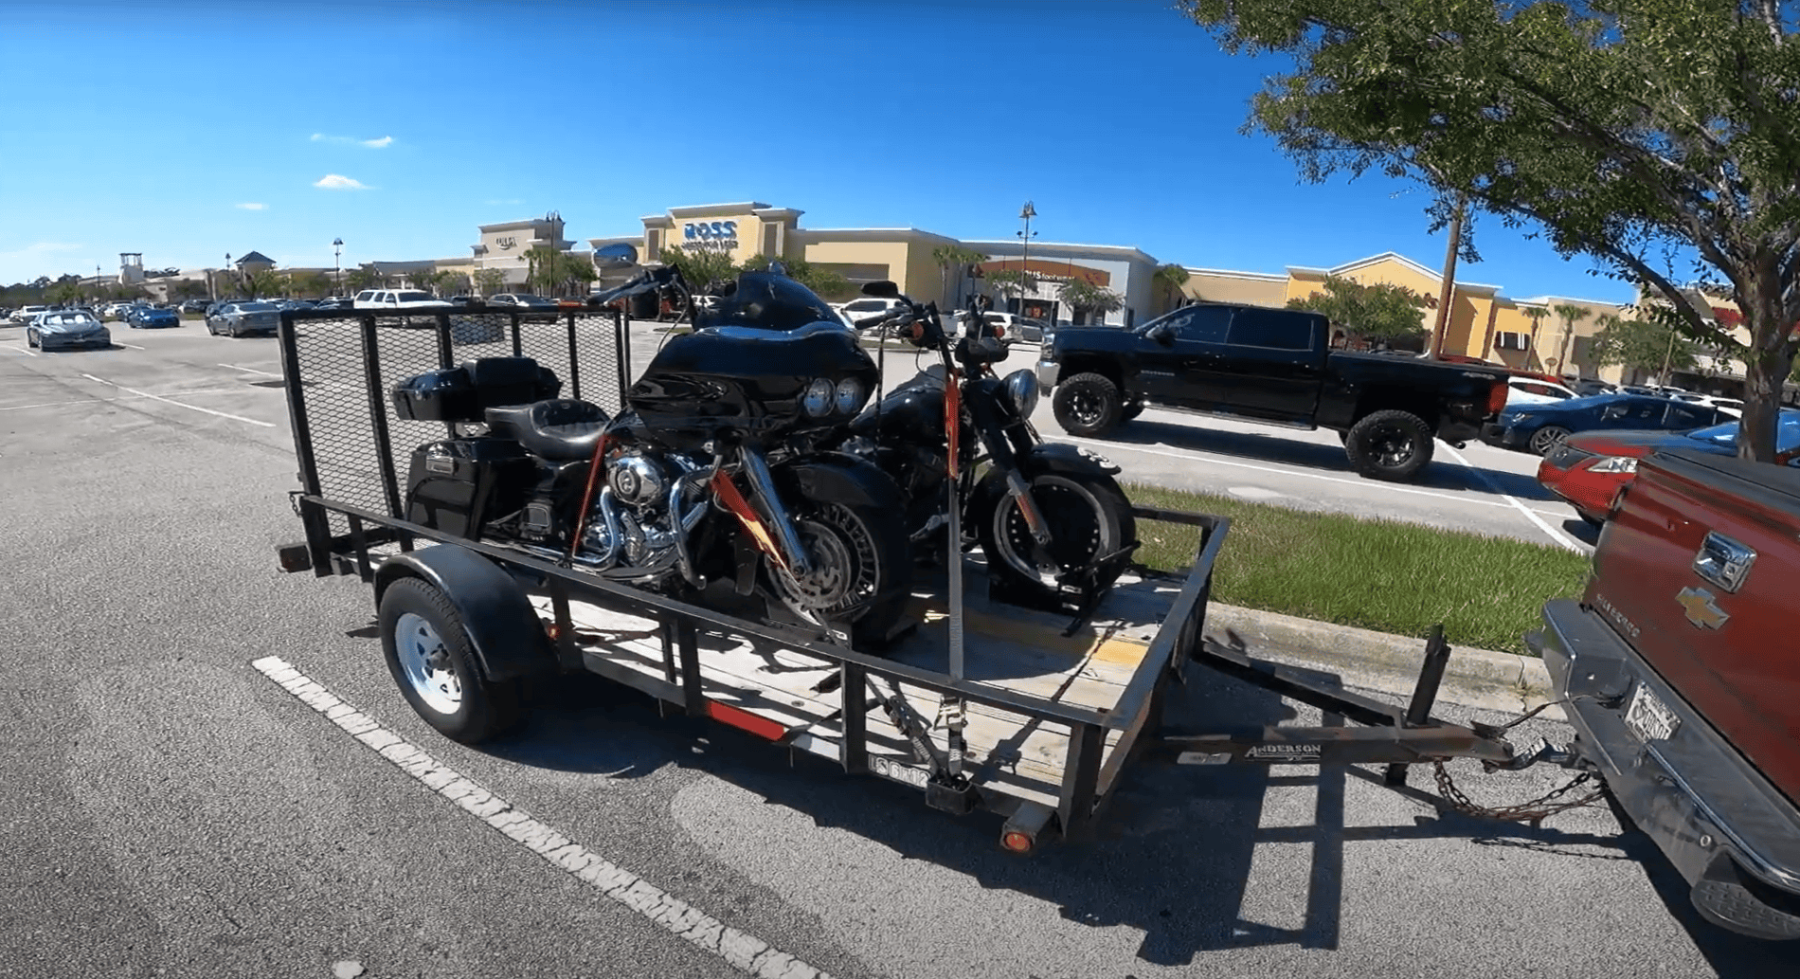
Open Flatbed
- Best for: Short trips, fair weather, budget rentals.
- Pros: Cheap, lightweight, easy to tow.
- Cons: No protection from rain, road grit, or thieves.
Source
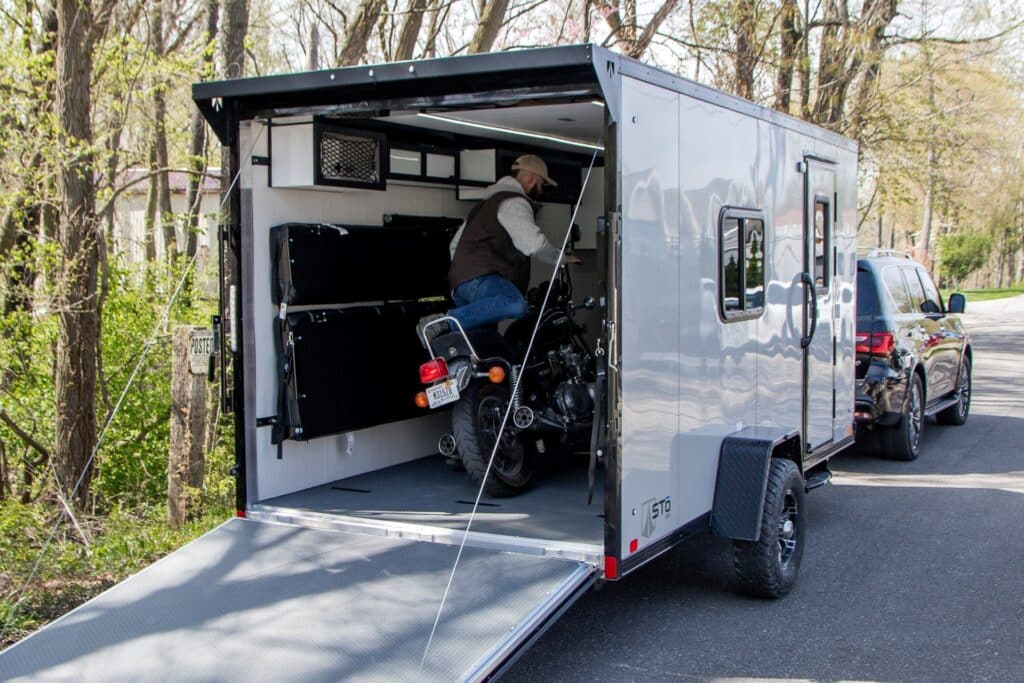
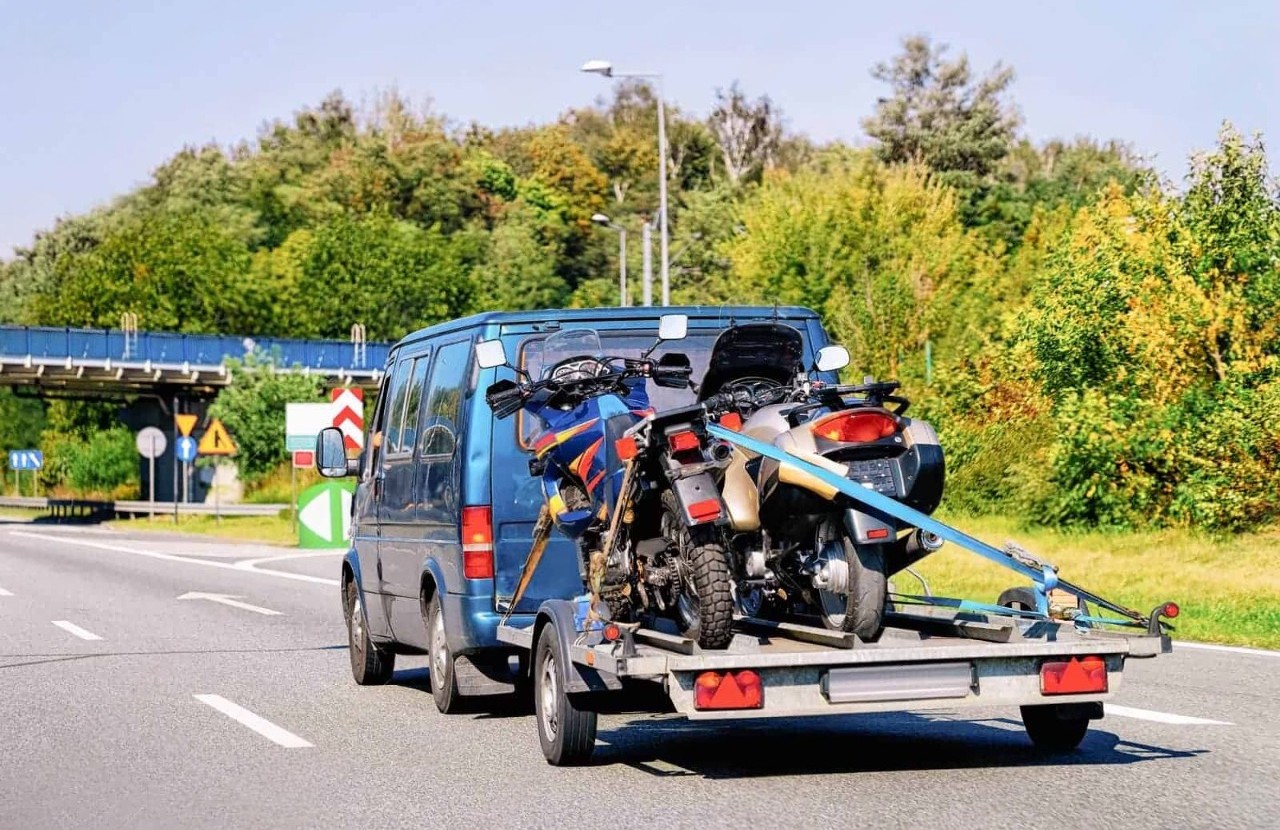
Enclosed
- Best for: Expensive bikes, long trips, bad weather.
- Pros: Full weather and theft protection, extra storage.
- Cons: Heavier, more expensive, needs a stronger tow vehicle.
Source
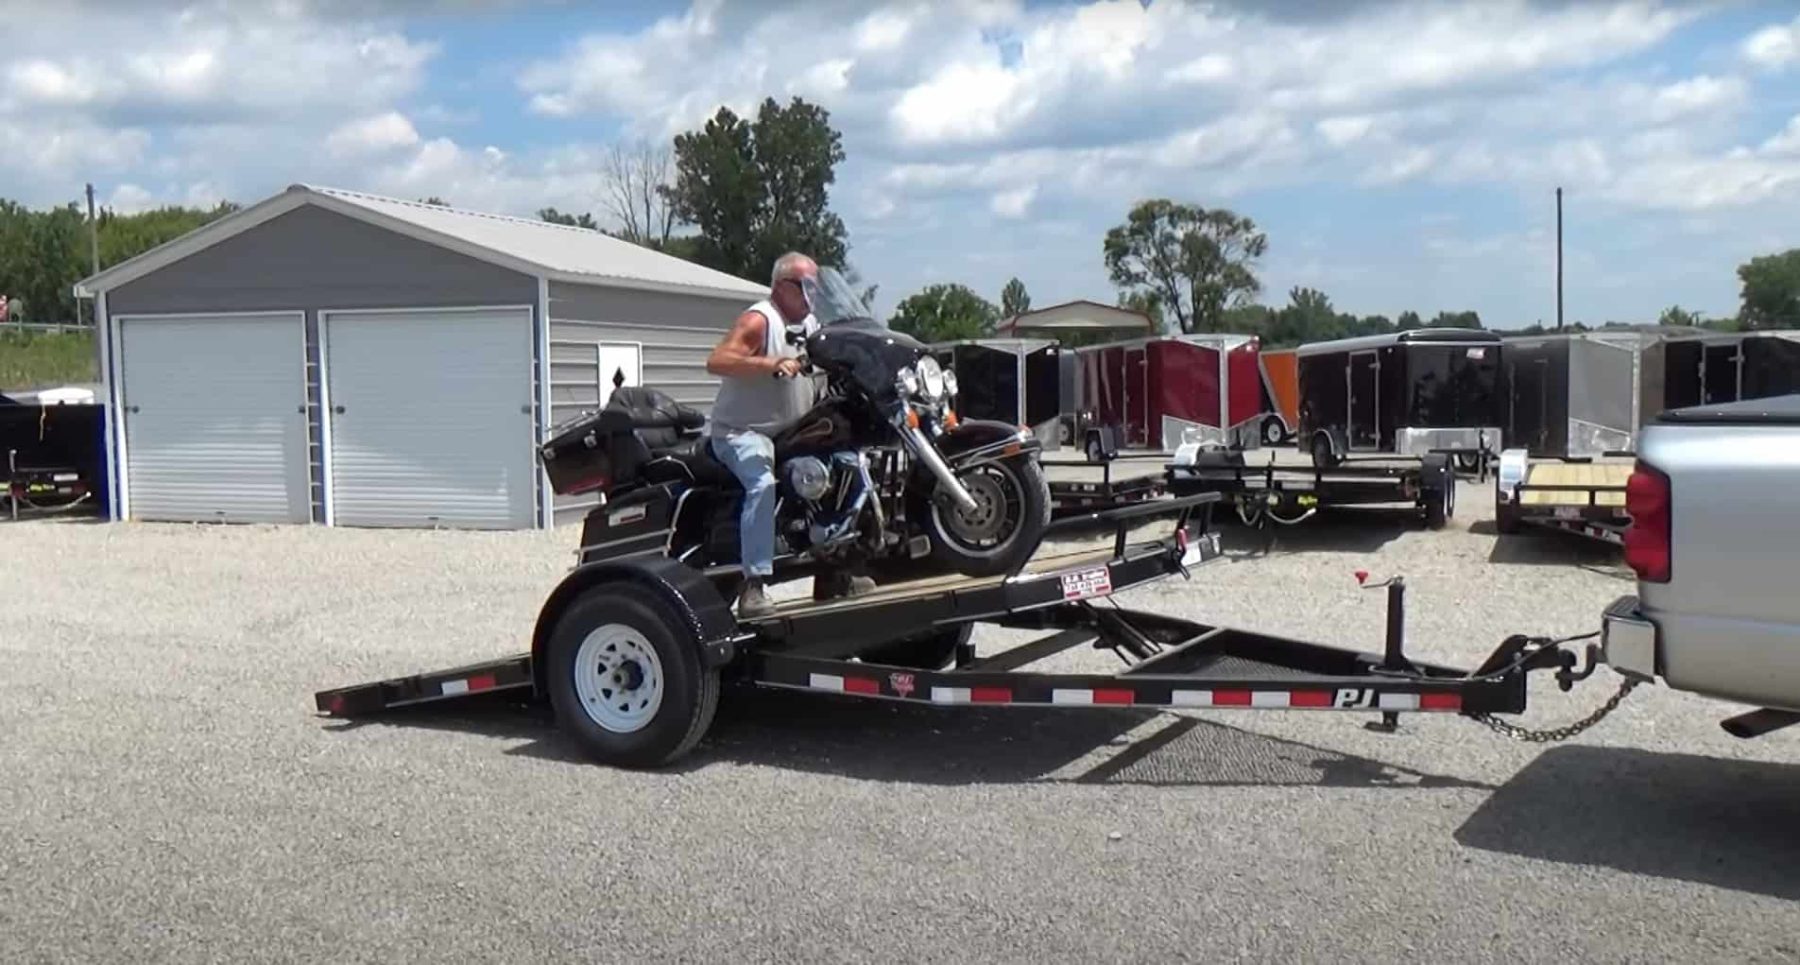
Tilt Deck
- Best for: Heavy bikes when you don’t want to deal with ramps.
- Pros: Low effort loading, safer for big adventure/touring bikes.
- Cons: Less common in rentals, sometimes costs more.
Source
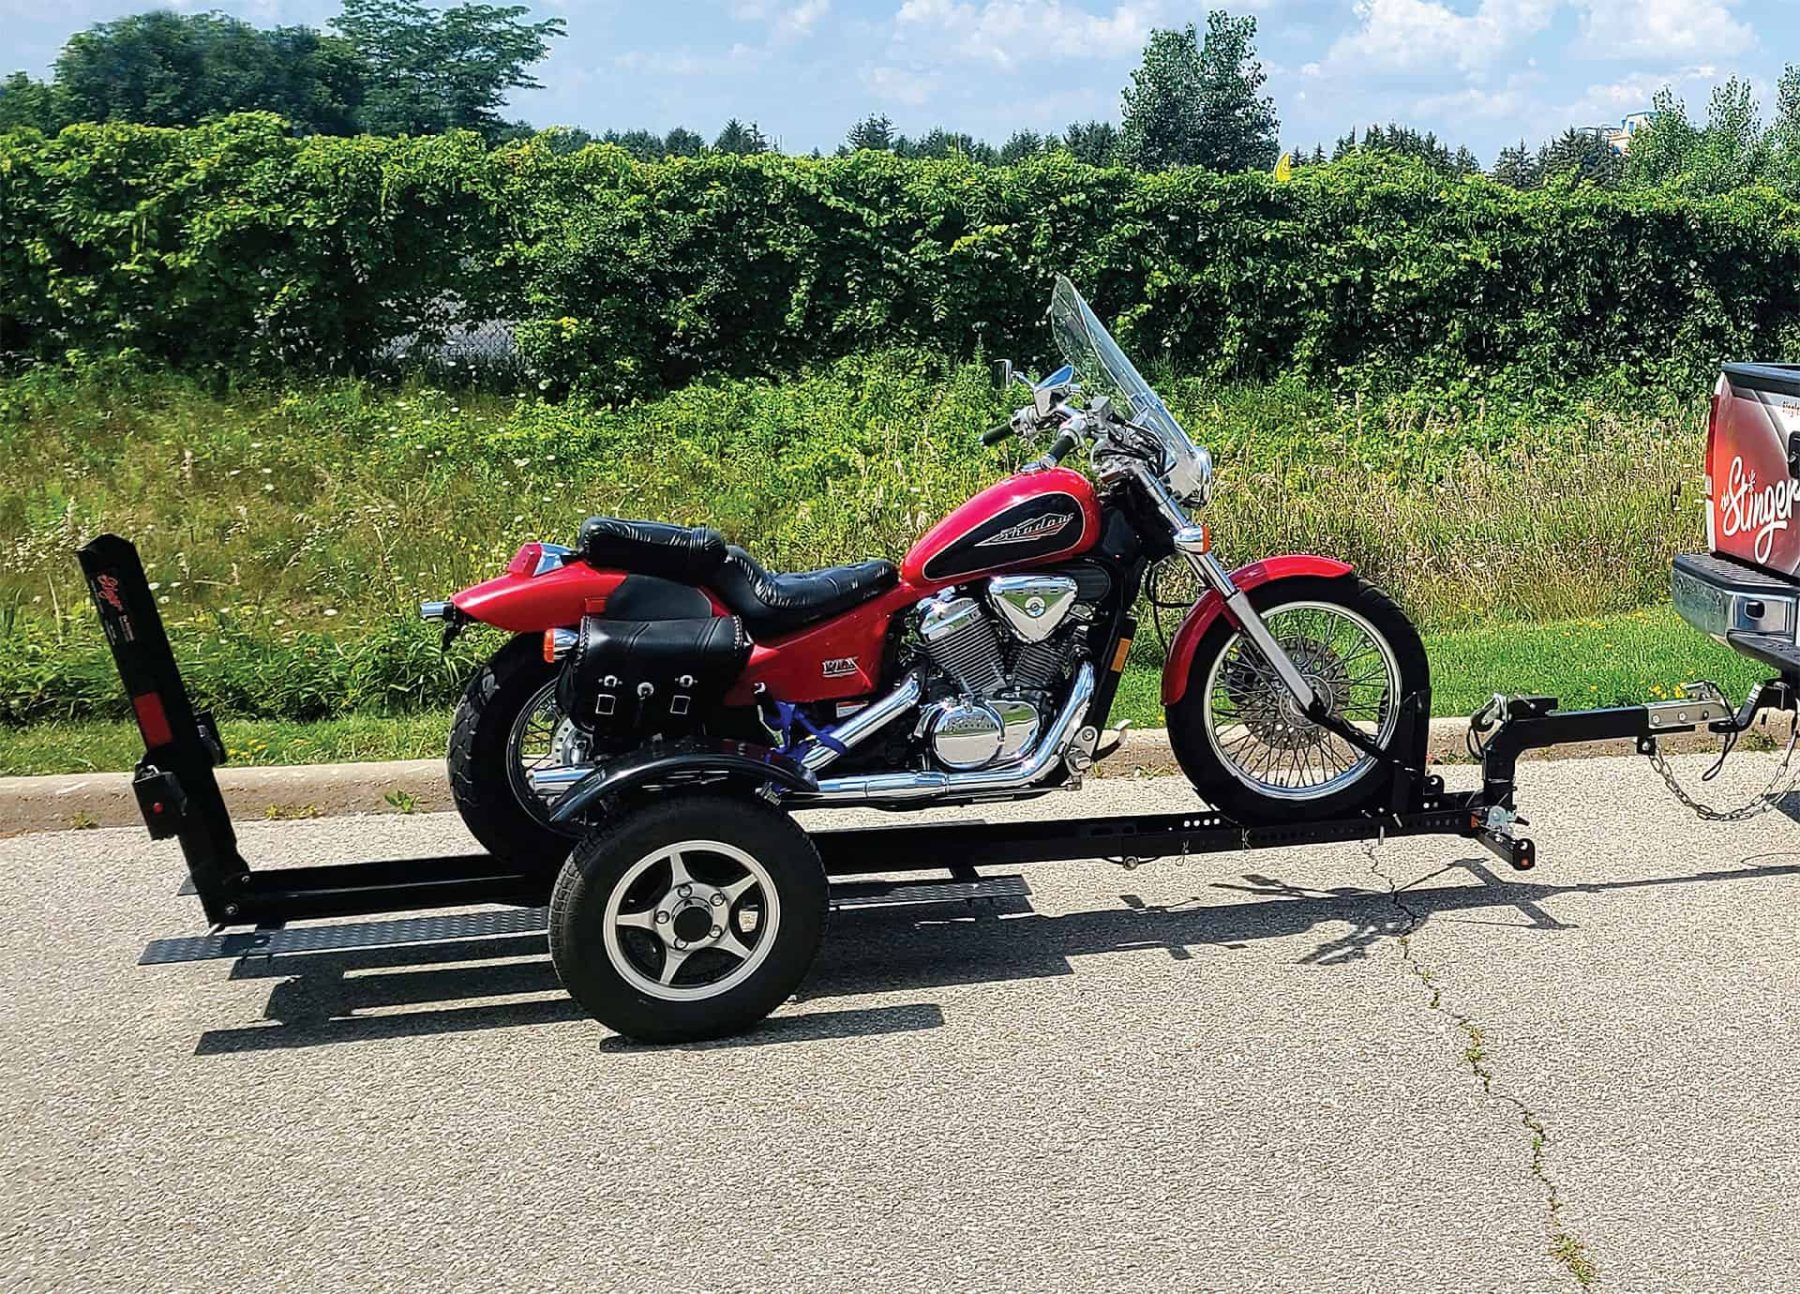
Rail or Channel Trailer
- Best for: Dirt bikes, dual-sports.
- Pros: Lightest option, easy to maneuver by hand.
- Cons: Limited to narrower tires, offers less protection.
Source
Step 3: Understand Pricing and How to Save
Rental rates vary widely – not just by type, but by timing and location.
Typical Pricing (US examples)
- Open Single: $35–$60/day
- Enclosed Single: $60–$100/day
- Open Double: $50–$80/day
- Enclosed Double: $90–$150/day
Source
Multi-day discounts are common: 3-day weekend rates can be close to 2 days’ cost.
- Match your bike/trip to trailer type before comparing price. No point paying for enclosed if you just need a quick open flatbed.
- Look at weekend/monthly bundles. Weekend or weekly buys can drastically lower your per-day price. Sometimes 5 days is more expensive than 7.
- Check for hidden fees like insurance, mileage, airport surcharges, or late returns. U-Haul may look cheap until add-ons kick in.
- Scope local options. Smaller operators often have lower base rates, but read the fine print: you might need to bring straps or adapters.
- Lock in your booking early. Especially around events or in tourist-heavy zones (Alps, national parks, major rally towns), rates climb and availability drops fast.
Step 4: Check the Tow Vehicle Requirements
This is where people get tripped up.
- Hitch type & size – Most trailers use a 2″ ball, but some rentals still have 1-7/8″.
- Wiring plug – 4-pin flat is common for open trailers, 7-pin round for enclosed. Adapters are cheap but plan ahead.
- Tow rating – A midsize SUV might handle an open trailer fine, but enclosed trailers can push you over capacity.
Pro Tip: Bring your own hitch lock. Not all rental places supply them, and it’s a cheap theft deterrent.
Step 5: Inspect Before You Sign
Even reputable rental shops miss details. Check:
- Tire condition & pressure – Look for cracking, bulges, or low PSI.
- Lights – Test brake, turn, and running lights.
- Ramps or tilt – Make sure the mechanism works smoothly.
- Tie-down points – At least four strong ones, ideally more.
Take photos before leaving. It protects you from damage claims.
Step 6: Gear You Should Bring Yourself
Rental companies sometimes include straps – often the cheapest, frayed kind possible. Bring your own – our best motorcycle tie-down straps roundup covers ratchet and cam picks tested for paint and frame safety. Here’s what to bring:
- 4–6 quality ratchet straps rated for at least 1,500 lbs working load.
- Soft loops to prevent scratching handlebars or frames.
- Wheel chock if the trailer doesn’t have one built in.
- Gloves for loading/unloading.
Source
Step 7: Where to Find the Best Motorcycle Trailer Rentals
Nationwide (US)
- U-Haul – Cheap open and enclosed motorcycle trailers, one-way rentals possible.
- RV & Trailer rental marketplaces (e.g., Outdoorsy, RVShare) – Private owners renting their trailers; often better quality gear but requires coordination.
- Powersports dealers – Many rent to customers, sometimes with discounts if you buy parts or gear.
Local & Regional
- Check Facebook Marketplace and Craigslist – lots of small shops rent trailers without much advertising.
- Motorcycle clubs – Members often have trailers and will rent to fellow riders.
Pro Tip: Always compare total cost including insurance, mileage fees (if any), and deposits.
Step 8: Insurance & Liability
Always ask before you sign anything:
- Who’s responsible if the trailer is damaged?
- Is your bike covered inside the trailer? (Usually not – your motorcycle policy or separate transport coverage may be needed.)
- Does your auto insurance cover trailer towing?

Source
If the answers are fuzzy, call your insurance company before booking.
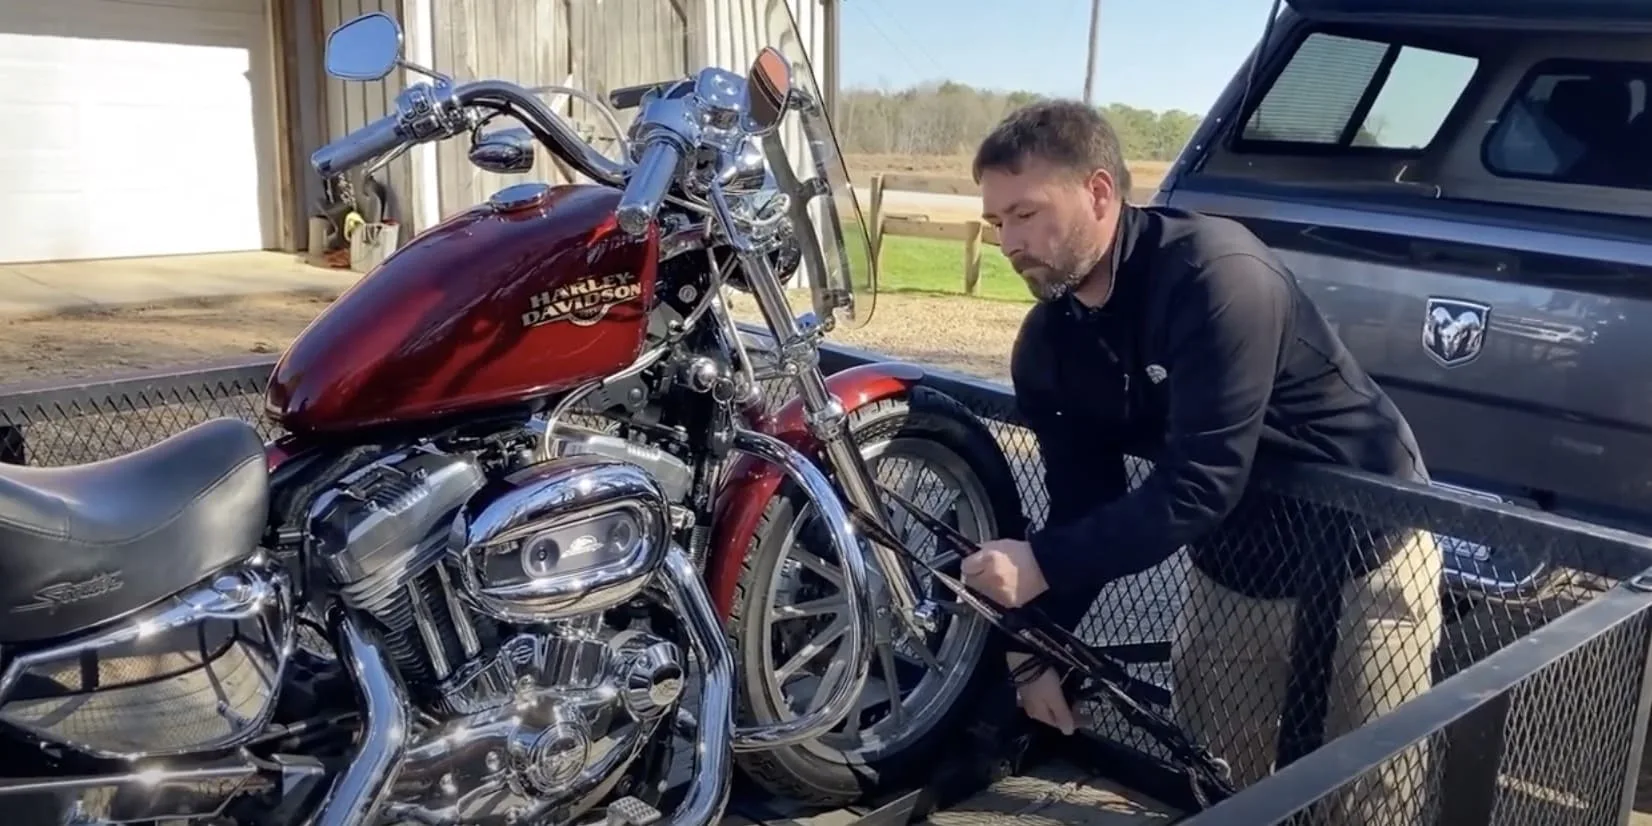
Step 9: Tricks for Loading and Securing
- Park on flat, solid ground.
- Attach the trailer to the tow vehicle before loading (to prevent tipping).
- Roll the bike up slowly, keeping front brake engaged.
- Use soft loops on handlebars or triple tree, then ratchet straps evenly on both sides.
- Add rear straps to stop side-to-side sway.
- Check straps again after 5–10 miles – they loosen as the bike settles.
Source
Step 10: Returning Without Extra Fees
- Sweep out debris if enclosed.
- Wipe down any grease marks.
- Fill out any check-in forms completely.
- Return on time – hourly late fees can be nasty.
Common Mistakes First-Time Renters Make
- Underestimating bike weight – Leads to overloading or awkward fit.
- Ignoring tow-vehicle limits – Result: white-knuckle driving and unsafe braking.
- Not checking the weather – Open trailers in storm season = miserable trip.
- Using old or cheap straps – One snapped strap can ruin your bike and your trip.
- Leaving booking to the last minute – Especially bad near rallies, races, and bike weeks.
Trailer Type vs. Trip Type
| Trip Type | Best Trailer | Why |
|---|---|---|
| Cross-country in mixed weather | Enclosed tilt deck | Weatherproof + easy loading for long hauls |
| Weekend dirt bike trip | Open rail | Cheap, light, no overkill |
| Moving multiple street bikes | Enclosed double | Protection + room |
| Short hop to track day | Open flatbed | Easy, cheap, plenty of tie-downs |
| Touring bike relocation | Tilt deck enclosed | Safer load angle for heavy bikes |
The Bottom Line
Renting a motorcycle trailer isn’t complicated once you know exactly what you need – and what to watch for.Here’s the quick decision path:
- Know your bike’s size and weight.
- Match trailer type to trip type.
- Check tow-vehicle compatibility.
- Inspect before you leave.
- Bring your own quality straps.
Do that, and you’ll avoid 90% of the headaches first-timers face – and you’ll get your bike where it needs to go safely, without overspending.