
Motorcycle Helmet Wraps Full Guide: DIY + Costs + MISTAKES
 Evan Rally
left for contents
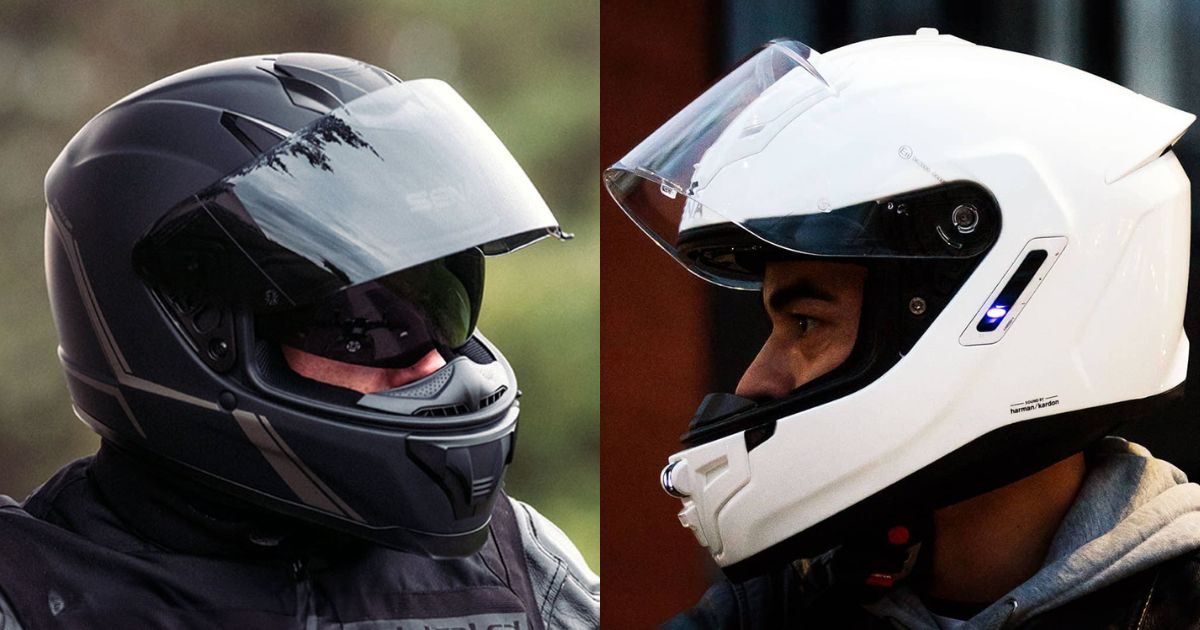
I have a bone to pick with motorcycle helmet makers.
What’s the obsession with black? They just took the most boring color (not to mention the one that catches the most sun) and slapped it on everything. No variety, no fun.
I say we fight back: with helmet wraps.
Motorcycle helmet wraps cover the original paint or design of the helmet with a vinyl wrap. That custom helmet wrap can have any kind of graphics, colors, and patterns imaginable.
In this article, I’ll walk you through the wisdom I’ve gained from many helmet wraps, including:
- Benefits of helmet wraps vs painting a helmet
- The cost of helmet wraps: vinyl wrap + labor
- How to wrap a helmet at home
- The materials used for helmet wraps (including the best vinyl wrap)
- Tinting your helmet visor with a vinyl wrap (plus legality!)
- Who to call to wrap your helmet professionally
I’ll also go through some questions I hear often about helmet wraps, including how long helmet wraps last, how to avoid bubbles in helmet wraps during installation, and whether vinyl wraps scratch easily when applied as helmet wraps.
Let’s get in to it.
Not Sure What Size to Order? Get Our Gear Fit Guide.
Sizing charts for helmets, jackets, gloves & boots — with brand-specific fit notes and pro tips so your gear fits right the first time.
- Helmet sizing by brand
- Jacket, glove & boot charts
- Head shape guide
- Between-sizes tips
Wrapping a Helmet VS Painting
So you want to customize your helmet… why use a custom helmet wrap?
What’s the advantage of custom helmet wraps? It’s an easy way to add customization without altering the helmet whatsoever. Custom helmet wraps simply lay over the paint and coatings already on your helmet as a vinyl wrap.
Painting is much more time and labor intensive. In order to paint a helmet, you need to sand the shell which will likely void your helmet’s warranty.
Another advantage to a helmet wrap is its temporary. The wrap can be peeled off at any time. That said, a good vinyl wrap (like those we’ll cover below) will last YEARS without any fading or peeling.
Helmet wraps also tend to be cheaper than custom paint. I’ll get in to specific numbers later on. But with a vinyl wrap the hard part of making the design is done by a computer printer rather than a skilled artist. An intricate design is simple to print, but takes tons of hours for an artist to nail.
What’s the downside of a helmet wrap? For one, if you pick a bad quality vinyl wrap it might peel off, fade, or scratch.
If you apply a helmet wrap incorrectly, it’ll sag and distort like a tattoo on an old guy.
A helmet wrap could also hide cracks in the shell of your helmet. After any drop, you should run your hands carefully around your helmet to check if there’s any cracking in your shell. A cracked shell is a shell that doesn’t absorb impact anymore. You don’t want to ride like that.
So what about cost? How much is a motorcycle helmet wrap and how can you save money?
How Much Does It Cost to Vinyl Wrap a Motorcycle Helmet?
The cost of wrapping a motorcycle helmet depends on how much sweat you want to put in and the materials you use. Vinyl wraps come in every level of quality from Saran Wrap to premium 3M wraps like you’d find on a car. The complexity of your helmet can also affect cost – more work for whoever is wrapping your helmet will cost you more!
Tip: Keep in mind you can remove a helmet wrap and reapply a new one at any point – something you can’t do with custom paint!
A custom helmet wrap starts on the low end at around $200 with some of the vendors I’ll mention down below. For very high end jobs with detailed or custom graphics, costs quickly climb up. You’ll see some of the premier vendors below charging $500 – $600 for bespoke jobs. You can also try any of your local car or sign vinyl wrap shops (though many wrap shops turn down helmet wrap jobs due to the complexities of a helmet’s curves).

To save money while wrapping your motorcycle helmet, consider purchasing your own vinyl wrap and tools, and completing the wrapping process at home. You can apply helmet wraps for under $20 by yourself, if you follow the instructions in this article. That’s pretty cheap for a custom helmet with your own custom helmet wraps applied.
Keep in mind wrapping a motorcycle helmet is difficult. You are stretching a flat piece of vinyl wrap over a round object, which makes it very hard to keep straight lines in designs running straight. Consider a wacky design without straight lines for your helmet wrap. Apply to a helmet that has a simple design. You could also apply stripes or decals instead of a full helmet wrap.
If you still want to go ahead yourself, I’ll go through the steps next. Or, you can pick one of the wrap companies in the section further down to do it professionally and deliver you a high quality custom helmet.
Wrapping a Motorcycle Helmet Yourself
Wrapping a motorcycle helmet requires patience, precision, and attention to detail. If you lack those (like I do) skip to the section on professionally wrapping a helmet below.
First, gather your materials:
- A vinyl wrap (more on how to choose this below)
- A precise cutting tool like a razor blade (X-Acto knife is perfect)
- A heat gun or hair dryer
- A credit card or squeegee
- Knifeless tape (makes edges SO much easier)
Helmet Wraps: Step By Step Directions
First, thoroughly clean your helmet and prepare it for wrapping by wiping it down until there’s not a speck of dust on it. Lay down knifeless tape around where you want the edges of the vinyl to lay – that’ll make cutting the vinyl wrap SO much easier.
Now, take your vinyl sheet and begin applying it to the helmet. Start at the top or crown, sticking it on and then stretching and smoothing as you go. Be sure not to wrap over the vents and visor lip of the helmet, as well as any safety stickers from DOT, ECE, Snell or SHARP.
You may need to use a hair dryer to shrink and bond the vinyl wrap to your helmet. A credit card or squeegee can also help smooth out bubbles in the wrap. Use a razor blade to trim around vents and edges.
When you’re done, let the wrapped helmet cool for a few hours. The vinyl wrap will bond to your helmet, then your custom helmet is ready to rock on the road.
Here’s a great walkthrough video of wrapping a helmet, step-by-step:
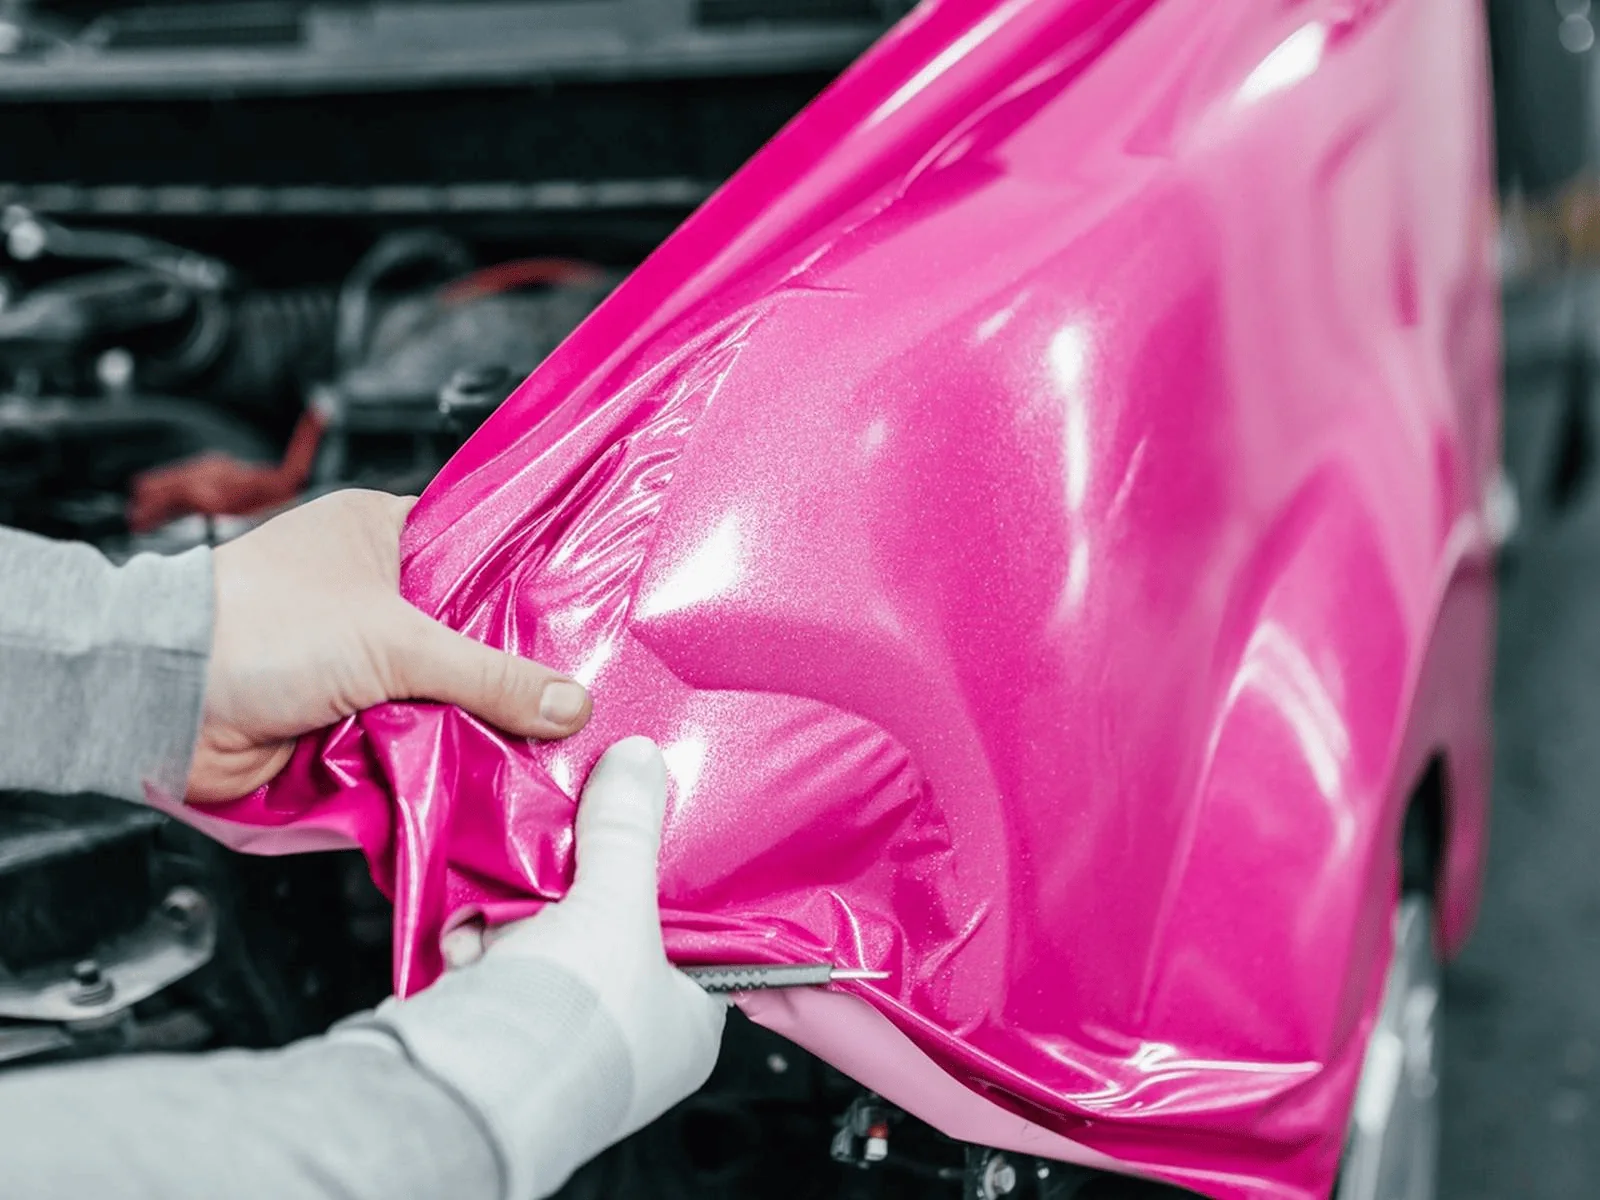
What is the Best Vinyl for Helmet Wrap?
Vinyl wraps come in all different materials, and unfortunately there’s a lot of low-quality junk out there. The worst thing you can do is spend 10 hours wrapping your helmet just to have it fade in splotches after one ride on a sunny day. So pick a good wrap the first time. Your custom helmet will thank you.
When shopping for helmet wraps, you’ll see materials like cast vinyl and calendared vinyl. For a helmet wrap you want a very thin and highly flexible plastic or wrap vinyl that will stretch over curves. That’s usually going to be cast vinyl.
Calendared vinyl is cheaper, but usually far too thick for helmet wrap application. You want a vinyl wrap that’s under 20 mils (thousands of an inch) thick for a motorcycle helmet.

Cast vinyl is also exceptionally durable, easily lasting 7-10 years in outdoor environments. It’s resistant to scratches and minor impacts, making it a great choice for a daily use helmet wraps.
Tip: You can pick up some great helmet wrap kits for motocross helmets here from Magik Graphics.
Finding A High Quality Vinyl Wrap
When shopping around, read reviews and look for people who are professional wrappers (not to be confused with rappers). They know their stuff. Brands that sell high quality vinyl wraps include 3M, ORAJET, and PrismJET. All of these will have every product from gloss to matte finish, however they don’t offer many graphics. However, many services exist to print graphics and decals on base vinyl from these companies for your custom helmet wrap.
Your custom helmet is on its way…
Tinting Your Visor (Easy DIY Project)
While you’re waiting for your new wrap to bond to your newly custom helmet, I want to give you a quick tip. You can easily personalize your helmet’s visor to add a bit of tint with a special vinyl wrap.
A visor is much easier to wrap than a helmet because most visors only curve in one direction. That makes it easy to put a tinted vinyl on it, reducing glare and improving visibility in bright light conditions. Don’t be an idiot and put a heavy tint on a visor you’ll use at night, though!

Tinting a visor with a vinyl wrap is simple. Pick up vinyl with your desired level of tint and remove your visor from your helmet. Clean your visor thoroughly, then stretch the vinyl over the visor. Use a hair dryer if necessary, but avoid it if you can. Heat can damage the anti-fog coatings on your visor.
Once you’re done, pop that visor back on your custom helmet.
Are Tinted Helmets Illegal?
Tinted helmet visors are legal throughout the USA. That said, states do regulate the level of tint allowed for car windows, so you may want to use those as a guide. Just in case an officer has a problem with your visor, you can use those regulations as a defense for your choice of tint.
Professional Helmet Wrap Companies You Can Trust
Who can you trust to wrap your helmet with amazing graphics?
Three great helmet wrapping companies are Dewraps, HP Graphics and WrapSesh. Both will apply any helmet wraps and do flawless work – just check their websites for examples. Expect to pay about $400 for the wrap and the labor, but in return you’ll receive what looks like a custom painted helmet. Just at a fraction of the cost and with no changes to the underlying helmet, thanks to the magic of helmet wraps and vinyl.
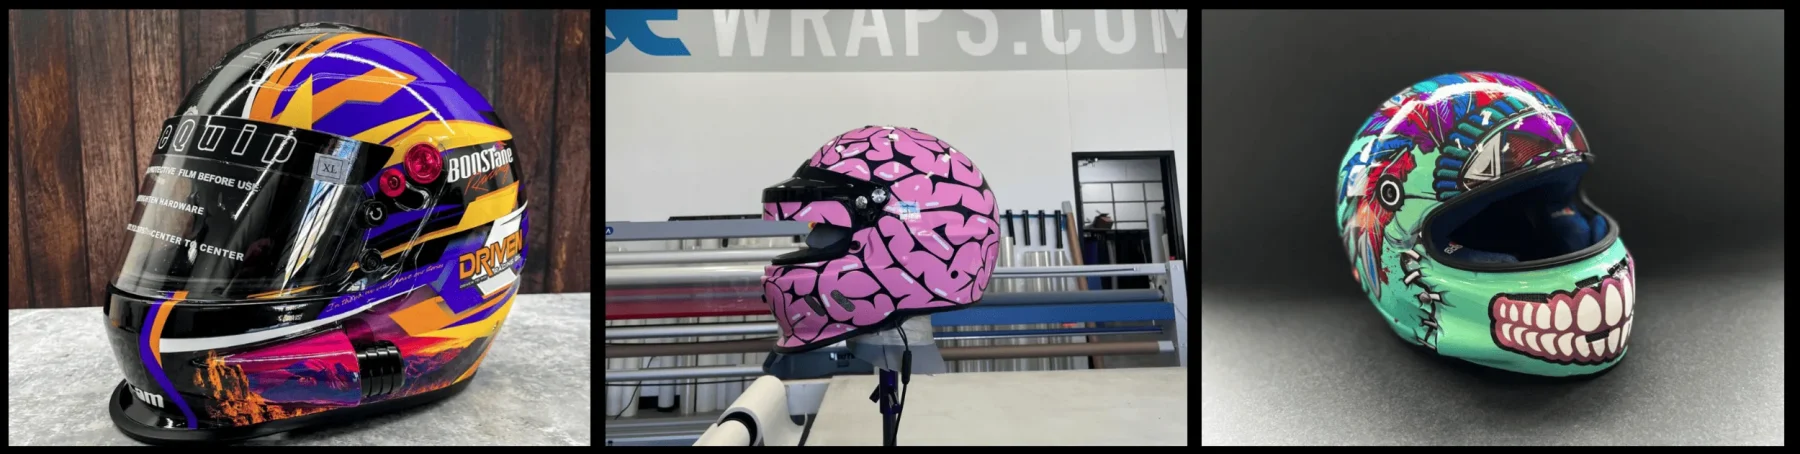
For motorcross helmets, you must check out Backyard Design USA. They are MUCH cheaper than other helmet wrappers and allow you to build your own helmet wraps and designs right on their site. You’ll pay around $100 to $150 to wrap your helmet, about a third of other options.
Your local wrap shop that does cars and signs is also an option. Many shops won’t work on helmet wraps, but some might take them in.
Frequently Asked Questions on Helmet Wraps
How long does a motorcycle helmet wrap last?
A motorcycle helmet wrap will last from 5 to 10 years, depending on the quality of the wrap material. A high quality wrap from 3M or ORAJET that’s rated for outdoor use will not fade, peel, or otherwise degrade until you’re done with the helmet underneath.
How to avoid air bubbles during installation?
To ensure a smooth, blemish-free application of your helmet wrap, follow the directions I laid out in this article. Use a hair dryer to relax the vinyl as you apply it, and a credit card or squeegee to smooth our air bubbles. It’s like applying a phone screen protector – so if that annoys you, just get your helmet professionally wrapped!
Does vinyl wrap scratch easily?
No – a high quality vinyl wrap from 3M or another reputable vendor will not easily scratch, unless you slide out on pavement or take a knife to it. Cheap wraps, on the other hand, will scratch easily and cause tears in your beautiful custom helmet wrap design.
Landon Wanner
2 years ago
Where do you find vinyl tint wraps for your motorcycle visor? Looking for silver.
Evan Rally
2 years ago
You may want to look at the window tint film used for cars – a local shop that does vinyl might be able to help, especially if you just want a small piece to do a visor. Most vinyl sold online is in large sheets, overkill for this use.
Andy B
1 year ago
This is a great article for beginners (like me). I appreciate the basic instructions, inclusion of links, and commonsense answers to simple questions – “Yes it’s ok to tint your face shield, but don’t be and idiot”
Evan Rally
1 year ago
Thank you Andy! Glad you found it helpful!
Geoff
9 months ago
If I wanted to create my own design in Illustrator, where would I find a template to create a design for a 3/4 open face helemt?
Evan Rally
8 months ago
For that I do not know! But maybe another reader will have some clues…