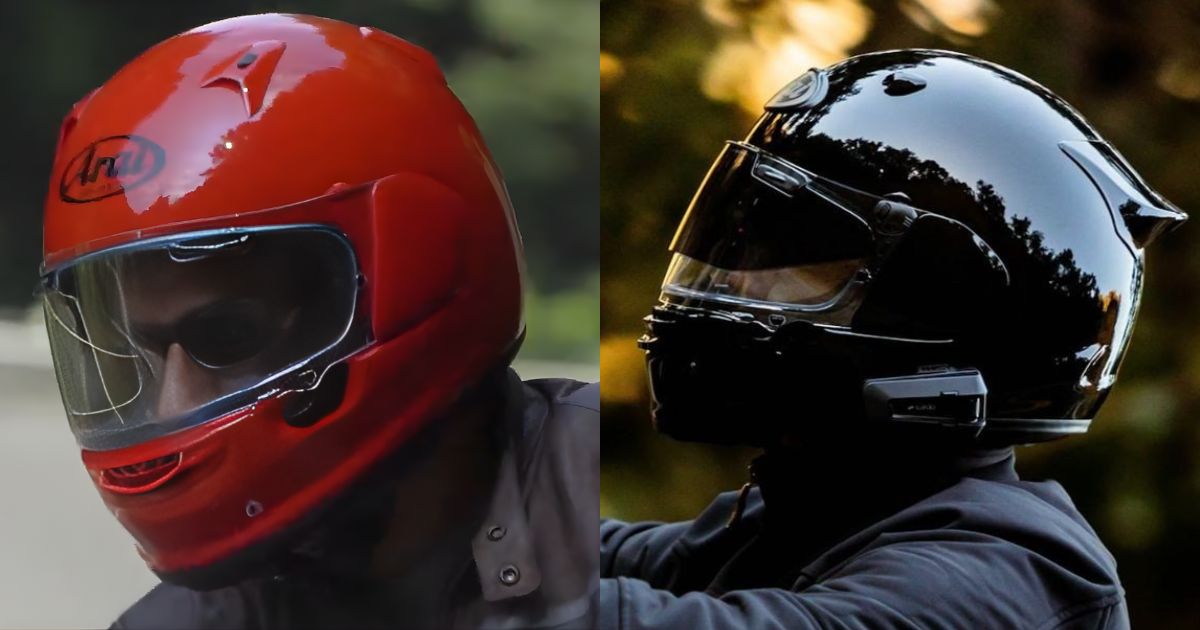
How to Clean Your Helmet and Visor, Remove Scratches, and Save your Life
 Evan Rally
left for contents
Let me tell the story of one of my broken bones. I was heading out early to beat traffic, in a rush to visit a bike I wanted to buy. I donned my helmet and realized I forgot to clean the mud that had accumulated on my visor in the final minutes of a wet ride home the night prior.
I spit on a rag, rubbed the visor, and shrugged my shoulders. Good enough. Got on my bike, sped off, and not five minutes later I was laying on the asphalt. Bike was in a ditch and my left collar bone was in 4 pieces.
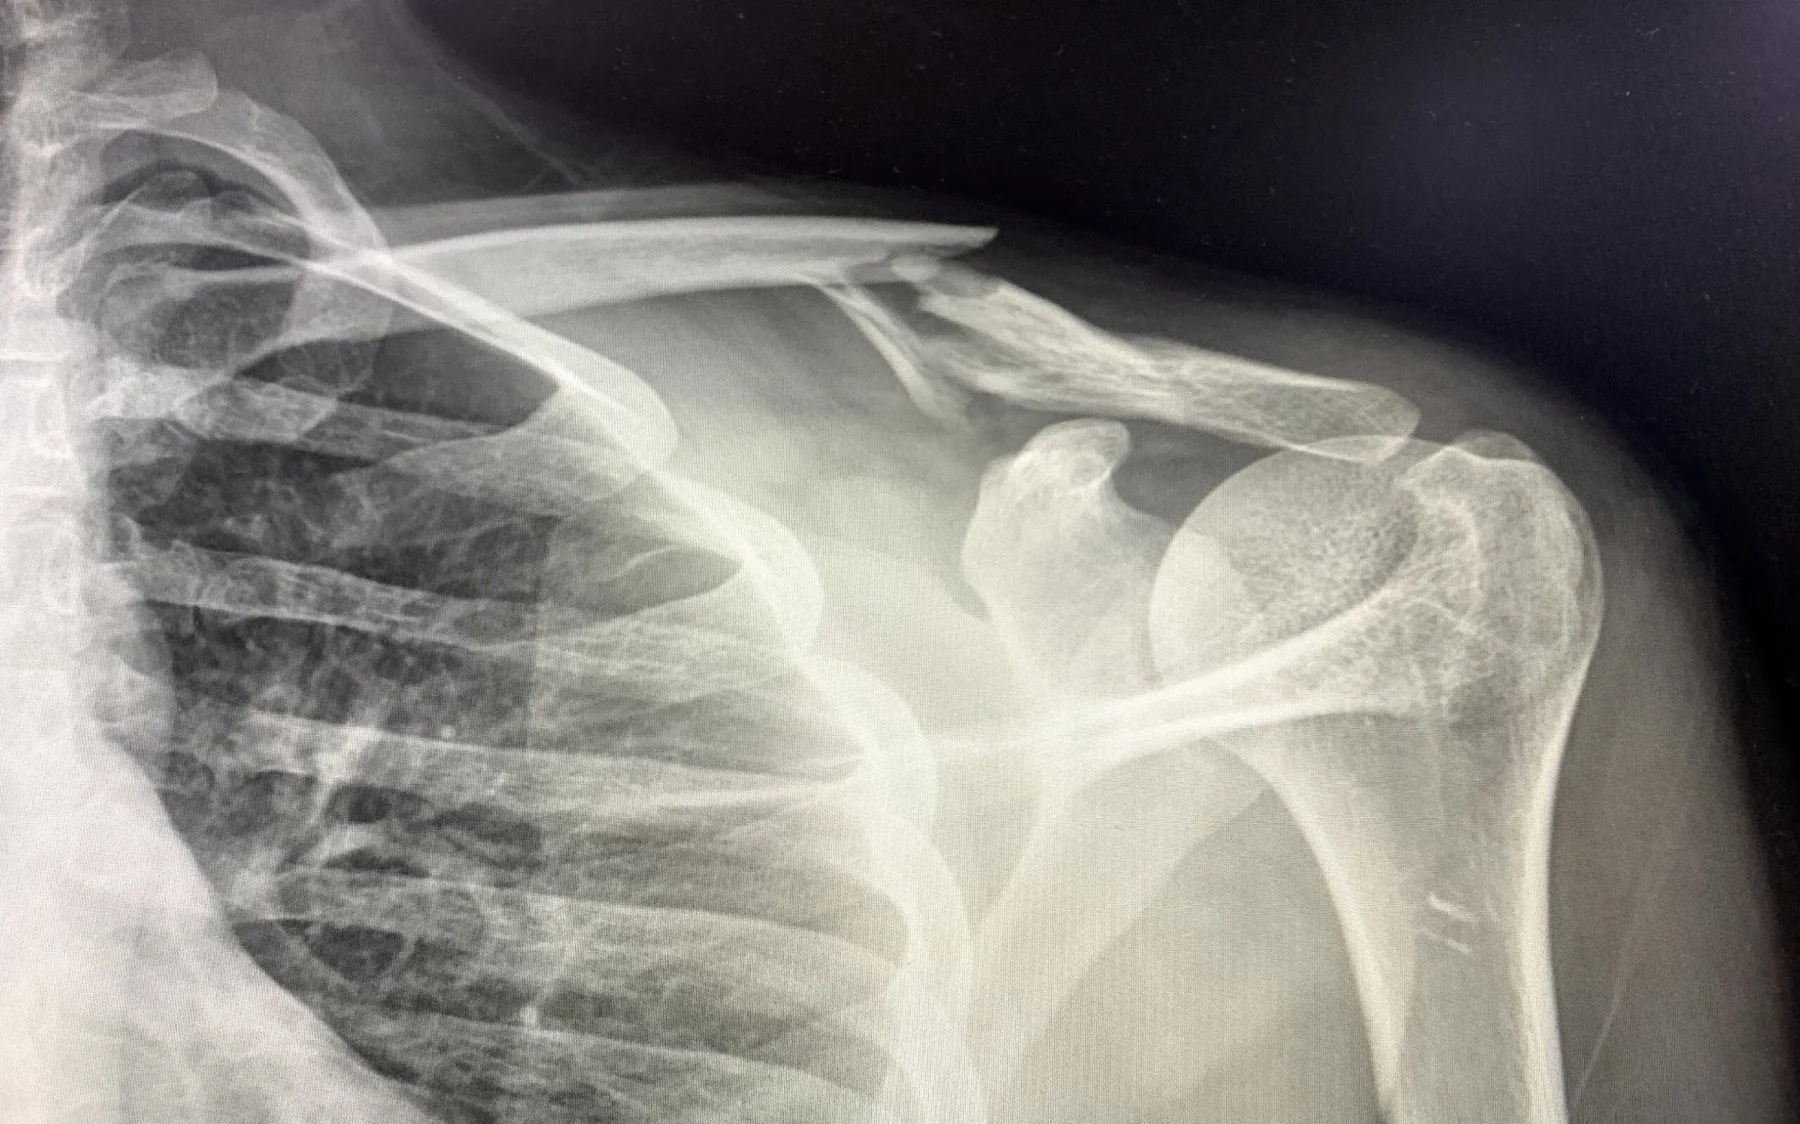
With my peripheral vision blocked by the mud I failed to clean off, I didn’t see a car coming up behind me as I turned. In my sudden panic as it almost rear ended me, I sped up too suddenly and lost control.
Completely my fault, and completely avoidable if I had just cleaned my visor properly. I couldn’t ride for six weeks, but it could have been a lot worse.
A clean and clear visor isn’t a nice to have – it’s a safety necessity.
To help make your helmet visor last as long as possible, I’ll walk you through:
- What you need to clean your helmet visor
- How to clean your helmet visor without damaging it
- Removing visor scratches
- Cleaning a Pinlock visor insert
- Freshening up the inside of your helmet
So you don’t make the same mistake I did!
How to Clean Your Helmet Visor
Step 1 – Get the Gear
To clean your helmet visor properly, without causing damage or adding scratches, you need to get some supplies. There are lots of products out there that claim to be specifically for helmets and visors, but honestly you can clean your visor and helmet with standard products easily.
Add to your shopping list:
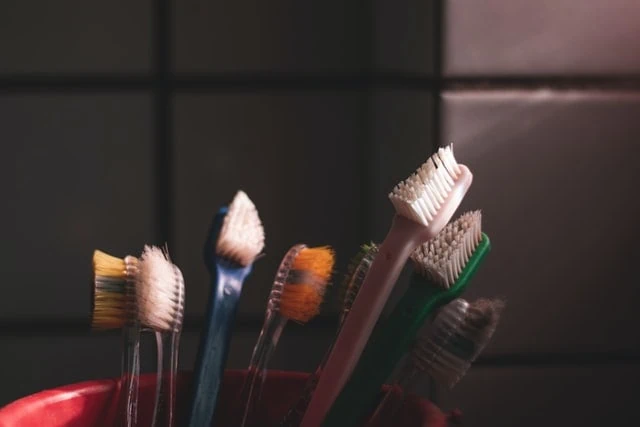
- Microfiber cloths to avoid scratches on your visor and finish
- Soft-bristle toothbrushes to do any detailed cleaning
- Muc-Off Visor, Lens, And Goggle Cleaner
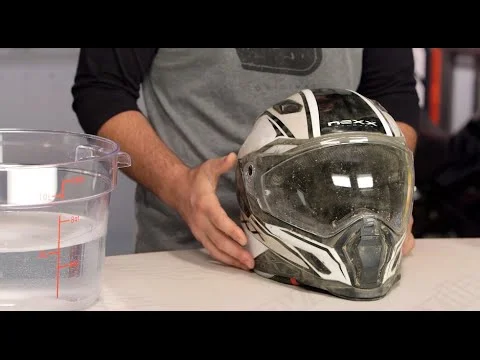
You really don’t need anything more advanced to give your visor a good clean. Have a bowl of warm water on hand before you start cleaning your visor, too.
Step 2 – Remove the Visor
To make sure you get into all the nooks, crannies, and crevices of your helmet visor, you need to remove it from the helmet.
This should be a super simple process with a latch, catch, or screw that lets it pop right off. If it’s a new helmet that you’ve not cleaned before, check out the manufacturer’s handbook.
Who keeps them around, though?
Luckily, there are myriad YouTube channels out there reviewing pretty much any helmet you can think of. Simply search the name of the helmet and you’ll find at least a couple of videos unboxing your lid. Some of these will include how to remove the visor as well. If you really can’t figure it out, give the manufacturer or your local helmet retailer a call.
Step 3 – Clean
Now, you need to remove any Pinlock insert on your visor – carefully peel it off, either from the center or by freeing it from the posts on either end.
Now grab some toilet paper – yes, we’re going very low tech here.
Get your toilet paper wet with warm water and lay it over the outside and inside of your visor. Let it sit for a few minutes. This will free up any gunk stuck to your visor – like dead bugs – without you having to scratch at it. Scratching equals damage, equals visual distortion, equals crashes.
Do not use any chemicals. Dish soap qualifies as a chemical here. Any cleaning agents might also remove coatings on the visor, like the anti-fog coating. Using them can even invalidate your helmet warranty.
Now gently rub the toilet paper around the visor to lift off all the soaked dirt and grime. Anything that doesn’t come off at this point will require a longer soak, which is better achieved using a microfiber cloth.
If anything is lodged inside the visor clips or the lips around the seal, this is where you need your toothbrush. A gentle scrub of dried-on dirt should lift it off and the brushes are soft enough to not do any damage.
Step 4 – Polish
After removing everything from the surface, you want to get rid of smears and get to fixing helmet visor scratches. Beware, at this point you could be violating your helmet’s warranty. However, these polishes are unlikely to affect coatings on your visor, especially if you avoid applying them to the inside.
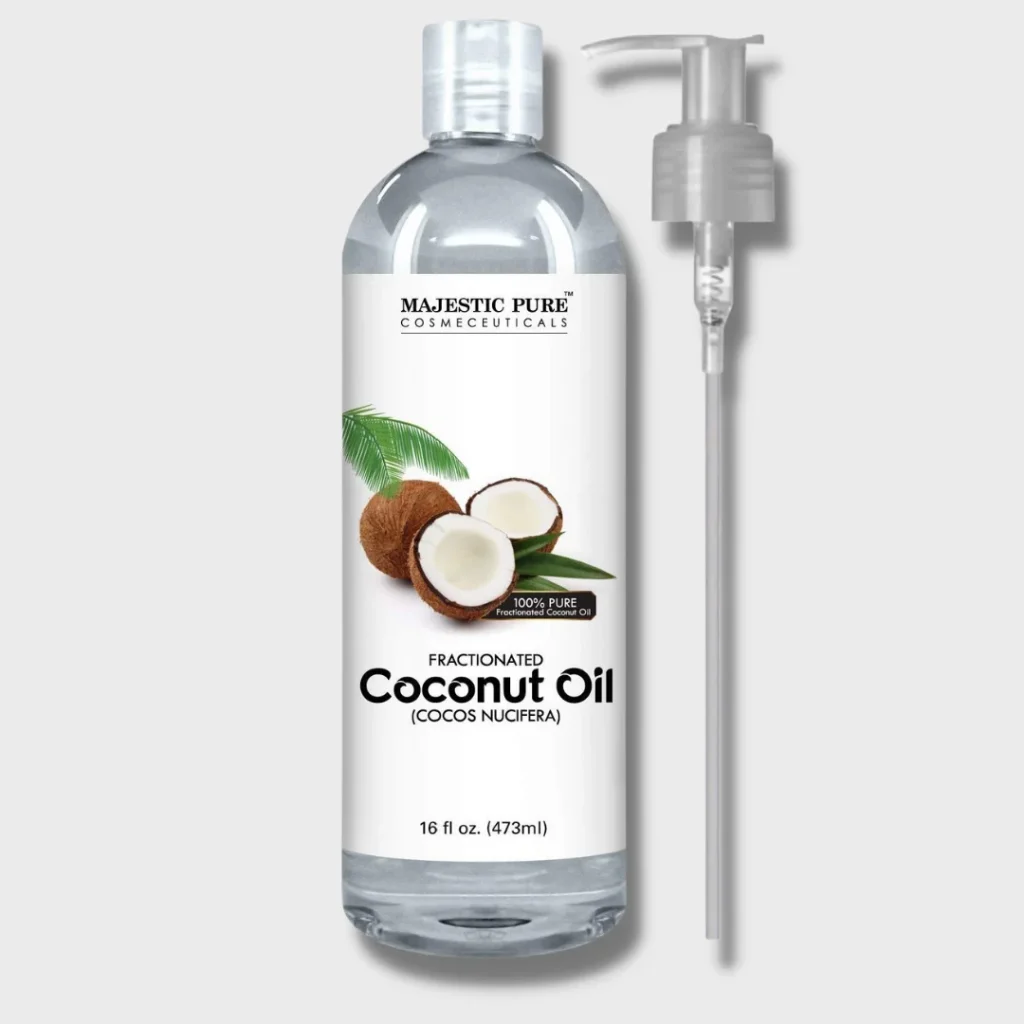
A good polish is going to smooth out pockmarks and add a wax layer to fill in scratches so you can see clearly again. I’ve had a lot of success with Muc-off cleaner. While it isn’t the cheapest polish, many motorcyclists agree with me that it’s the most effective (1). Maybe it’s just the coconut oil smell we’re all going wild for.
Spray it onto your visor and buff it with a clean, dry, microfiber cloth.
For a cheaper option, toothpaste can work. But, I’ve got some words of caution:
- Don’t use a toothpaste containing calcium carbonate
- Avoid toothpastes that contain ammonia
- Avoid toothpastes with beads and fancy junk – this will scratch your visor even further
- Use a toothpaste that contains baking soda for a gentle abrasive action
A popular pick that meets these needs is Arm & Hammer, but you still need to be careful with how hard you buff it in. It could prove expensive to experiment with toothpaste for cleaning your helmet visor.
If you’re adamant to give it a go, rub the toothpaste over your visor, clean it off with a microfiber cloth, then add wax. Keep it tropical and good value with some simple coconut oil.
Step 5 – Treat and Dry
Once it’s clean and shiny, you can add an anti-fogging spray. We’d recommend Muc-Off Premium Anti Fog Treatment to give your visor an anti-fog coating. We’ve got more tips on anti-fogging, and we’ll look at cleaning your Pinlock anti-fog visor in a minute.
Finally, leave your visor to dry out overnight. You probably could take it out pretty much straight after, but try and clean your helmet visor at least the night before.
How to Fix Helmet Visor Scratches
Crashes aren’t usually the result of 1 BIG mistake, they’re most likely the result of 2 or 3 minor mistakes that added up to total FAILURE.
Could be sun in your eyes, a wet road, overheated brake pads, an angry driver… keep going, and you can probably think of a few from your last ride.
Riding around with scratches on your helmet visor?
That’s 1 minor mistake you’re ALWAYS carrying with you, from the second your kickstand goes up.
This is a minor mistake you can fix in a few minutes, for free or almost no cost. That’s probably worth saving thousands of dollars (pounds, euros, what have you) you’ll spend on a crash, plus the agony of it all.
To remove scratches from your visor, get yourself a:
- Clean Microfiber cloth – here’s a great set of 12 from Amazon if you want fresh ones
- A heat gun like Black and Decker sells (or powerful hair dryer like this one)
- 1,500 grit sandpaper like this one from the reputable 3M (read below before freaking out!)
- Optional: Muc Off Anti-Fog Treatment (I’ll explain later)
Sandpaper?! Jesus, Evan; you want me to use SANDPAPER?
Yes I do – 1,500 grit is ultra fine sandpaper, meaning it won’t dig big new scratches in to your visor – it will help to level out the scratches you do have and create a surface that can smooth out with just heat.
By the way, on Muc Off: This process will rub off coatings on the scratched areas of your visor, so you might want to add an anti-fog treatment like Muc Off.
Once you’re equipped, here’s how to do some DIY scratch removal:
- While running your visor under cool water, rub the sandpaper back and forth in a small area perpendicular across the scratch.
- Keep rubbing until you no longer feel the sandpaper catch on the scratch.
- Turn off the tap.
- Wipe away the excess water with your clean microfiber cloth.
- Check your work – the area you’re wiping should look a bit blurry, but the original scratch shouldn’t be visible anymore.
- When you can no longer tell where the original scratch was, leave it to dry completely.
- Now, take your heat gun (if it has temp settings, put close to 550 F), hold it 4 inches from the surface and run over the scratched area for a few seconds at a time.
- Leave your visor to cool. If you want, now is the time to apply an anti-fog treatment.
Pop your visor back on your helmet. Boo-yah, ready to ride.
How to Clean a Pinlock Visor Insert
Pinlock visors are an anti-fogging device that basically creates an air gap between your visor and warm breath that stops fogging. It’s an insert that goes on the inside of your visor and comes standard with more and more helmets these days.
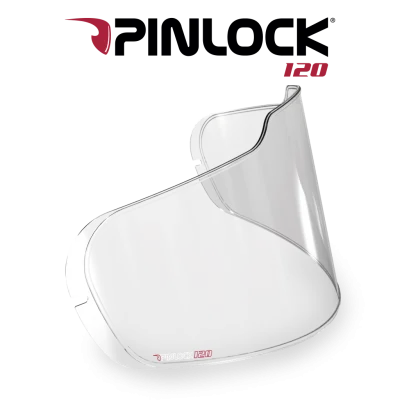
Cleaning is pretty simple:
- Remove your visor from your helmet and flex the visor enough you remove your insert
- Wipe it over with a microfiber cloth. If you use a damp cloth, you’ll need to leave it to dry overnight.
- Flex your visor and reinsert your Pinlock
It really is that easy (2). Do not use any alcohol-based solutions on the visor, as it will damage coatings that are key to the anti-fog properties of the Pinlock visor.
How to Clean the Inside of a Helmet
Every decent helmet will have a removable liner and cheek pad. First though, you need to prepare a sink or bowl of warm water with a good squeeze of baby shampoo mixed in. Shampoo is ideal because most of the grime in your helmet is from your hair and its oils.
Remove the liner and cheek pads and immerse them in your soapy water. Give them a good squeeze and a bit of a rub to get your hair oils and face sweat out. Delightful…
Once cleaned through, rinse with running warm water, squeeze out, and leave to dry off overnight.